
Defaults Digest · Issue No. 01
By the KW Default Solutions team
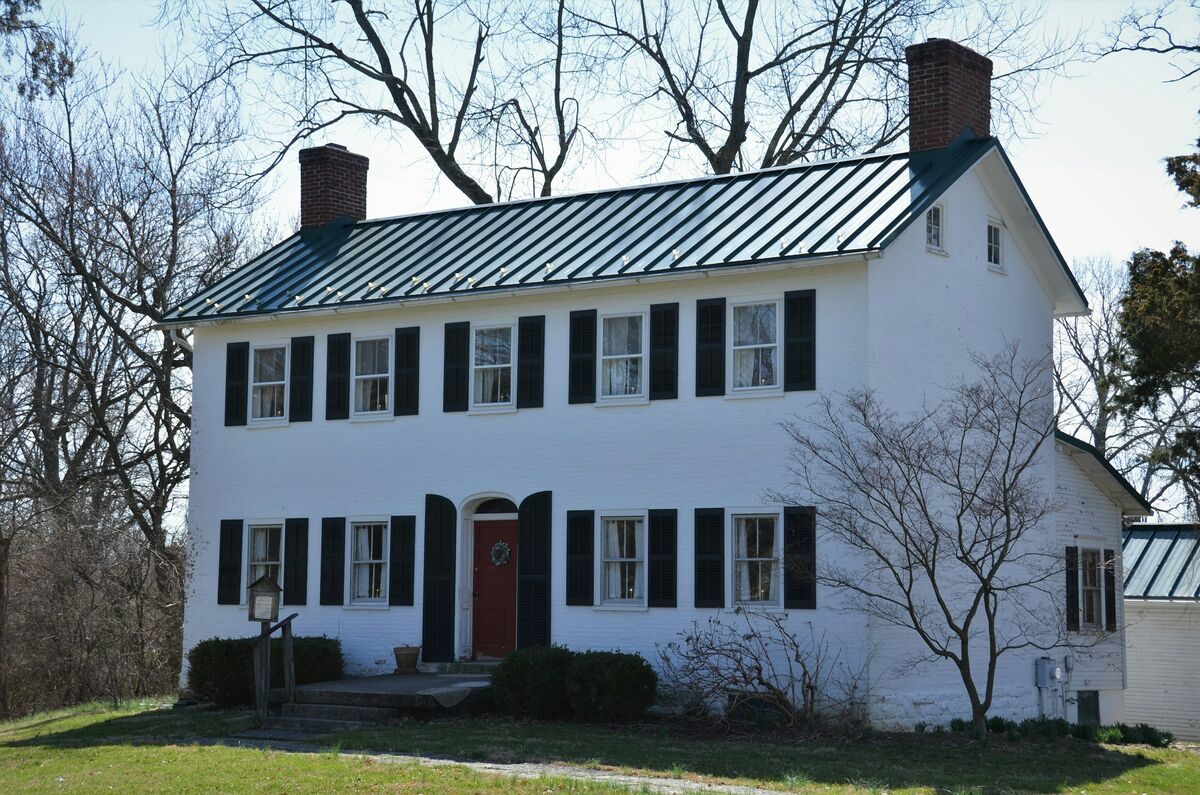
An REO (real estate owned) assignment is a request from a lender or other institutional owner to handle a bank-owned property, which can include visits, condition reports, vendor work and expense tracking. Before you say yes, check that the assignment is real and that you can cover that work, because what you accept becomes your calendar and your file.
REO means real estate owned. This lesson follows the bank-owned and institutional-property work covered in the KWDS Assignment to Close training. The exact work comes from the current assignment and client instructions.
What intake is
Intake is the review you do when an assignment arrives. It connects those instructions to your actual business.
- Service area. A property might fit your service area but require visits you can’t cover.
- Commission. A commission might look acceptable until you understand the referral terms and expenses.
- Portal. Instructions can vary between clients who use the same online system, or portal.
You can work through those questions before agreeing to the assignment. After acceptance, the same information becomes the starting point for your calendar and asset file.
01Before you acceptVerify the assignment before opening attachments
Confirm the sender and online client system through a trusted channel before opening attachments or entering login details. If a message doesn’t match what you expect, contact the company using details you’ve verified separately.
The assignment notice should help you identify the property, client and asset manager (the person overseeing the property for the client). An outsourcing company or platform may also be involved. Clarify those roles rather than assuming every name in the paperwork will be the same. Confirm the assigned closing provider, such as a title or escrow company, and which instructions apply. Record who will resolve any missing provider information.
Keep the original notice once you’ve verified it. You’ll need a record of what arrived, what it asked you to do and how you responded.
Then read the complete assignment, current broker handbook or sales guide and any special instructions. Don’t rely on a handbook saved from an earlier file without checking that it’s still current.
A portal is where instructions arrive; it doesn’t establish that every client using it follows the same process. Find out how this client wants tasks, reports, messages and expenses handled, and identify the contact for questions you can’t resolve from the documents.
02Decide whether you can handle the work
Your service-area profile is a starting point. An actual assignment gives you more to evaluate: the location, recurring visit requirements, reporting workload and available support.
Look at the work alongside the appointments and properties you already have. Include driving time, the multiple listing service (MLS) access needed for the assignment, vendor coverage and backup when you’re unavailable.
Think beyond getting to the property once. If the instructions require recurring inspections, those visits need to fit your calendar throughout the assignment. A local partner also needs clearly defined duties, appropriate access and a reporting process. Confirm any client and brokerage requirements for that arrangement.
Hypothetical example
Consider a hypothetical assignment at the edge of your service area. You can make the first visit, but the required recurring visits would conflict with existing commitments. You have a person in mind who might help, but you haven’t confirmed their availability or whether the arrangement meets the assignment’s requirements.
What to resolve
The unresolved item is coverage. Before accepting, confirm workable coverage and responsibilities, or resolve the limitation with the client. Don’t treat a possible backup as an operating plan.
The same reasoning applies to vendors. A contractor on your list may not serve that location or be available for the required work. Confirm who is responsible for providing the vendor and what must be arranged before you commit.
03Understand the costs and responsibilities you’re accepting
Read the payment terms alongside the list of work you’re expected to do. Confirm commission, referral terms and any required fees. Then identify who pays for each type of expense, who approves it and how it must be documented.
- Property preservation means work to protect and maintain the property. For utilities, preservation and repairs, establish whether the agent, a field-services company or another authorized provider handles the task. A field-services company performs property maintenance or preservation work. Don’t order duplicate work because you assumed it was yours to arrange.
- Review spending limits, vendor instructions, reimbursement enrollment and expense-submission requirements separately. Being enrolled in a system doesn’t tell you whether a particular expense is authorized.
- If you’re expected to advance authorized costs, assess whether your business can support that arrangement. Ask about the documented payment process and unresolved terms rather than assuming reimbursement follows a standard timetable.
Hypothetical example
Imagine a hypothetical assignment that makes you responsible for coordinating utility activation but doesn’t clearly identify who pays the deposit. Before arranging service, clarify the payment responsibility and required approval. Save the answer with the assignment instructions.
That question affects both the work and your cash needs. An expense log can help you track an authorized cost later, but it can’t supply missing authority to incur it.
Bring unclear or conflicting terms to the client contact and your broker before accepting obligations you don’t understand. Before accepting, confirm the initial deadlines, required report formats and what starts each deadline. Respond within the actual acceptance window. If you can’t meet the requirements, communicate that through the required process rather than accepting and hoping to sort out the gaps afterward.

04Confirm what you’re authorized to do
Accepting the assignment doesn’t mean you can do everything the property needs. Review the written scope for entry, rekeying, utilities, preservation, repairs and vendor work. Identify who can approve a task or a change in scope.
An assignment may include written authority for particular work. Read its conditions and limits; don’t assume it authorizes every task that could help prepare the property.
Practical intake note
A practical intake note can record the task, the instruction that governs it, who is responsible and any question still waiting for an answer. Keep the source document with that note so you can check the actual wording.
Follow applicable law, including fair housing requirements, along with brokerage policy, applicable MLS rules and the client’s current written instructions. If they conflict, flag the conflict and obtain clarification from the appropriate client contact, broker or qualified adviser before acting. This lesson doesn’t determine possession rights or establish authority to enter a particular property.
For now, you need a clear account of what you’ve agreed to do and what still needs authorization. Detailed occupancy and access procedures belong in the next stage of the work.
05After you acceptConfirm and track each deadline
Record the exact acceptance date and time, confirm acceptance with the asset manager and save the original instructions. Keep later changes as dated versions so the initial requirements remain available.
Transfer the actual deadlines into your calendar. The occupancy check, initial inspection, broker price opinion (BPO), listing documents and recurring reports may have different requirements. A BPO is an agent-prepared value estimate; its scope and format come from the assignment.
For each task, keep these details together:
Worksheet 01 · Deadline record
| The required work and responsible person. | |
| The due date and any stated time or time zone. | |
| The required format and submission destination. | |
| The instruction or document that establishes the requirement. | |
| The completion record or submission confirmation. |
Use the actual instructions to fill those fields. Don’t borrow a deadline from another client or start every clock from acceptance without checking what the current assignment says.
Hypothetical example
Suppose, as a hypothetical example, you’ve completed a required property report and saved it to your computer. The task also requires submission through the client portal. Your calendar should distinguish the completed report from the submitted report, with the confirmation retained in the file.
That distinction makes the handoff clearer if someone else covers for you. They can see what has been done and what remains, without reconstructing the task from several messages.
Keep unanswered questions visible too. Record who needs to answer and what action is waiting. A blank field can mean forgotten, unknown or not applicable; label it so the next person doesn’t have to guess.
06Build an asset file you can use throughout the assignment
The guide organizes the asset file around the work: assignment instructions, occupancy, access records, inspections, valuation, utilities, preservation, repairs, listing and offers, closing and expenses.
You don’t need every folder filled on the first day. You do need a consistent place for the records as they arrive.
Start with the original assignment, current handbook, special instructions, authorized contacts, your acceptance record and open questions. Preserve the source documents alongside your working notes. A summary helps you find a requirement; it shouldn’t replace the instruction itself.
Keep inspection reports and their supporting photos together by visit. Keep BPO submissions with their supporting material and prior versions. As vendor and expense records develop, retain the relevant approval, scope, invoice and payment or submission evidence.
Use names that let you recognize the property file, document and version within the approved private system. If instructions change, make it clear which version is current without deleting the earlier record.
Keep it private
Credentials and access codes belong in secure, authorized access management. A public checklist or shared training page should never become a place to collect portal passwords, lockbox codes, occupant information or actual client records. Limit private file access to the people authorized to do the work.
The practical test is whether an authorized teammate could find the current requirement, its deadline and the evidence of completion while you’re unavailable. If that still depends on asking you where everything is, identify the missing link before the file gets busier.

07Before the first visitReview property records before the first visit
Before visiting, review public records, ownership information, prior MLS history and photographs, taxes, homeowners association information, utility providers and known hazards. Use the sources appropriate to the property and your authorized role.
Prior photographs
Prior photographs can give you a reason to check an appliance, fixture or property feature. They don’t establish that it’s still there. An older listing description is a research lead, not proof of current condition.
Records and observations
Keep what the records show separate from what you’ve personally observed. Note the source and date, then identify what needs to be verified during an authorized visit or through the appropriate contact.
When documents disagree
This also helps you recognize questions to raise before going out. If the documents disagree about the property, its condition or your instructions, don’t silently choose the version that’s easiest to act on.
An older listing description is a research lead, not proof of current condition.
Prepare the required inspection and reporting process using the current client instructions. Requirements for photo format, file information, number of photos and submission deadlines can vary. Confirm those requirements rather than copying one universal timestamp rule or photo count from a training example.
At this point, your file should explain the assignment you’ve accepted: the work, terms, responsibilities, deadlines and written authority, along with the questions still open. The first visit then has a clear purpose and a place for the evidence it produces.
08Your next stepReview one assignment before you accept
Before accepting, identify any gap in coverage, costs, deadlines or authority and resolve it through the required client process. If you accept, use those confirmed instructions to set up the calendar and asset file.
Source: Adapted from KW Default Solutions’ REO Assignment to Close training guide. Examples are hypothetical; current instructions and applicable requirements govern each assignment.