
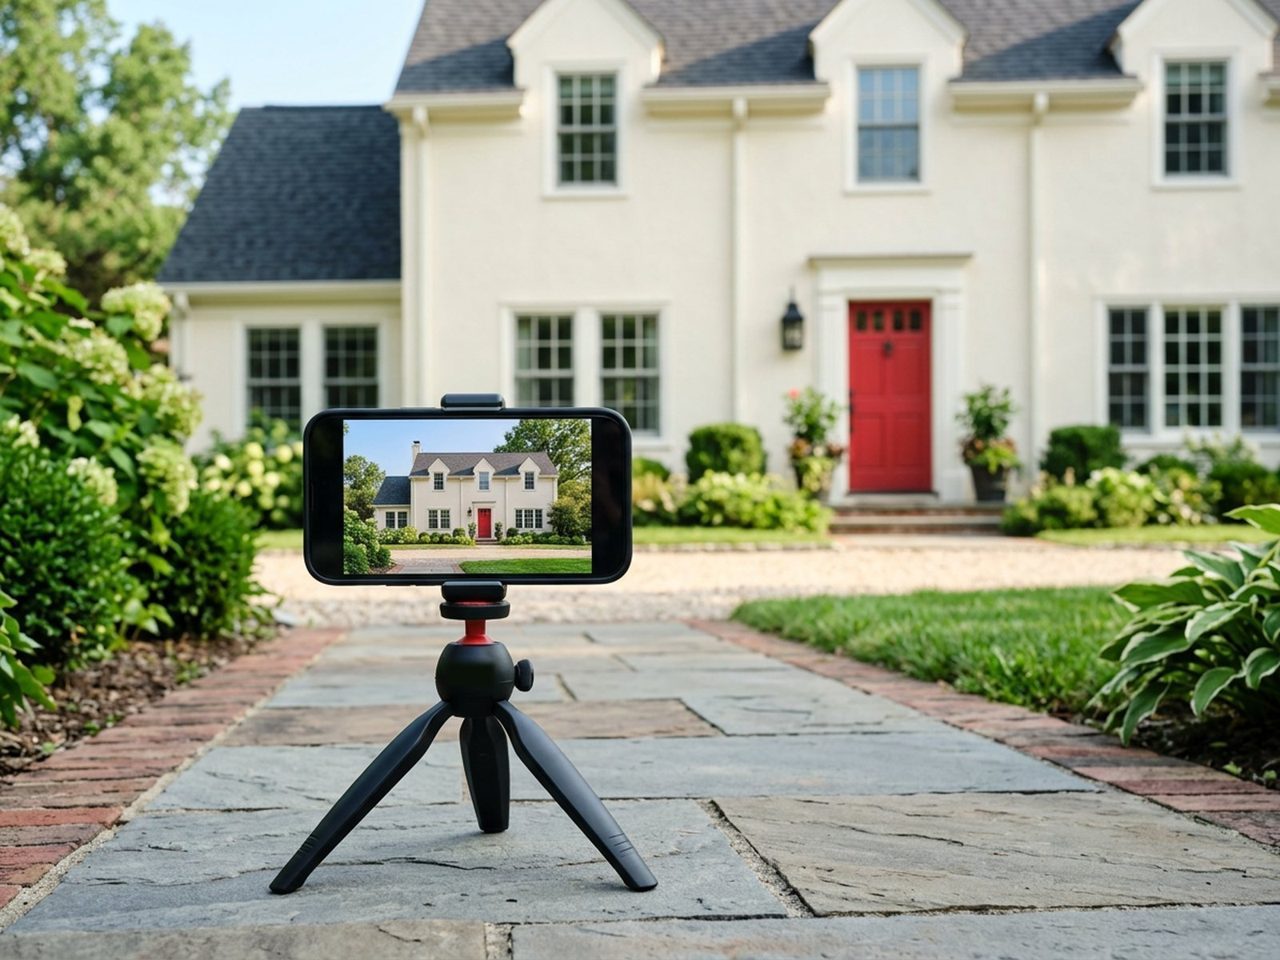
You’ll learn: how to run a 10-minute test so your phone’s photos are clear, dated correctly and accepted by the client’s system.
Run this test before your first assignment. Repeat it when you get a new phone, a new app or new client instructions. Camera menus differ by phone and app, so always check against the client’s current photo rules.
Before you leave: the setup checklist
- Wipe the lens with a soft, clean cloth.
- Charge your battery and clear storage space.
- Check that your phone’s date, time and time zone are right.
- Confirm where photos must be stored and how to upload them.
- If the client requires a date printed on the photo or a certain camera app, test that exact setup.
- Check the client’s required file format and image size.
About file formats: Renaming a file (for example, changing the ending to .jpg) doesn’t convert it. If the client’s system rejects your phone’s format, make an approved converted copy. Check the copy and keep the original.
How to frame a room photo
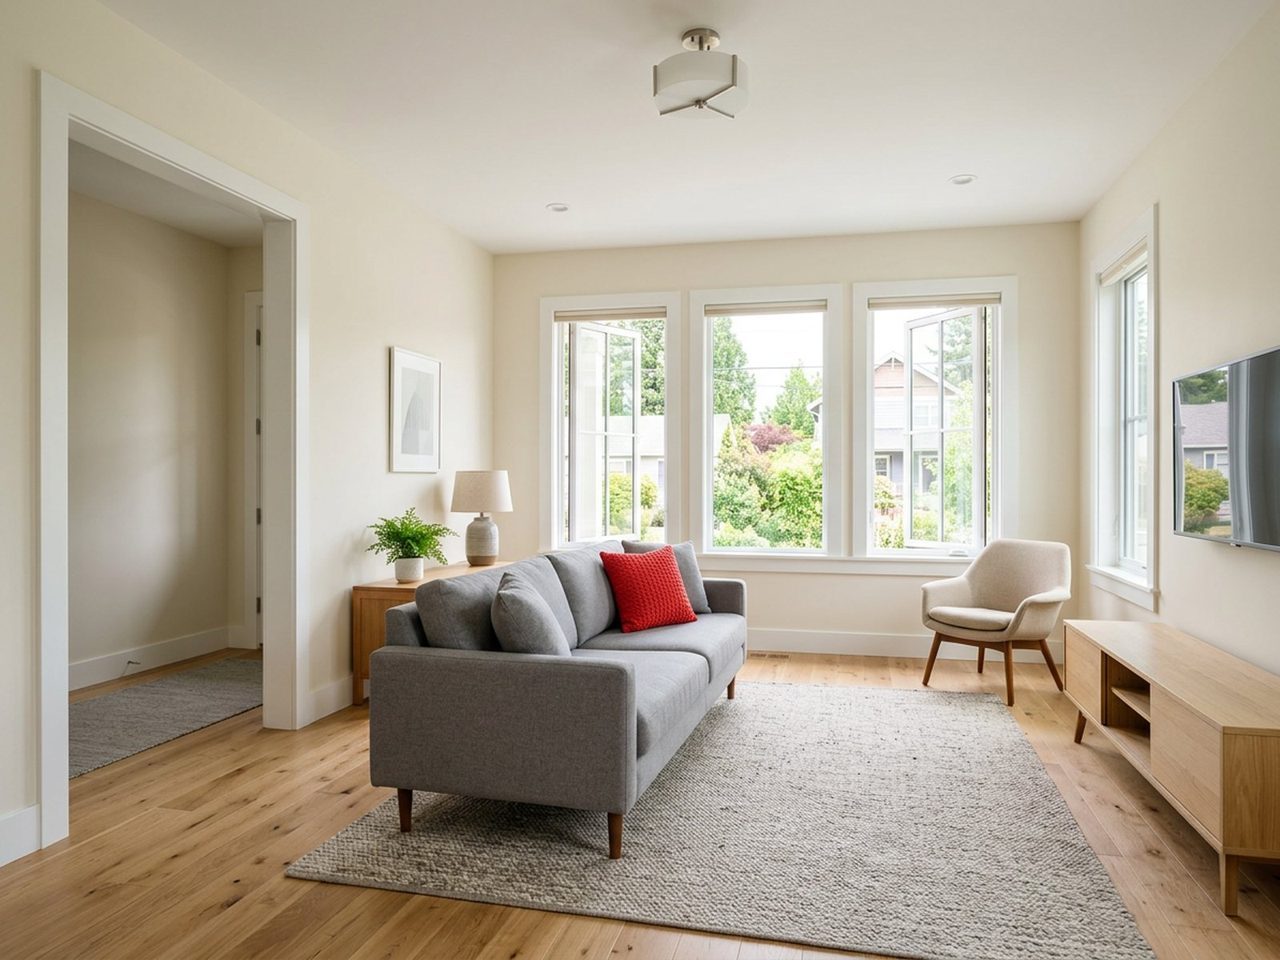
- Use the normal photo mode.
- Hold the phone sideways for room views, if the client’s rules allow it.
- Keep the phone level and steady. Keep your fingers off the lens.
- Show enough of the room to explain the layout.
- Take a separate close-up for any damage or label.
A wide lens can show more of the room. Check that it doesn’t make the room look bigger or bent. If it does, move or switch lenses. Never stretch or reshape a photo afterward.
Only move to places that are safe and that you’re allowed to enter.
Fixes for common problems
Five photo fixes
The photo is dark.
What to do: Try a different safe angle toward a window or other light. Look at the saved photo, not the live preview. If you change focus or brightness, change one setting at a time and take a test shot. Never edit a photo in a way that hides or changes the condition. Keep the original and follow the client’s editing rules.
The photo is blurry.
What to do: Stop moving and steady the phone. Make sure the subject is in focus, not something in front of it. Take another shot and open the saved file. A blurry photo of a required detail counts as missing.
You need to read a label.
What to do: First take a wider shot that shows where the label is. Then take a close-up. Don’t touch hazardous equipment or open restricted panels. Zoom in on the saved photo and read it yourself. Never guess a serial number or use artificial intelligence to fill in characters you can’t read.
The area is unsafe or locked.
What to do: Stop. Write down what you couldn’t reach and follow the client’s reporting steps. Don’t climb, move hazardous material, enter a room you’re not allowed in or touch utilities to get a photo.
The date is missing.
What to do: Keep the original. Figure out what’s missing and ask the client what fix they accept. There are three different dates:
- The date printed on the photo
- The date stored inside the file
- The date you upload it
Check which one the client needs. Never add a guessed date or reuse a photo from an earlier visit.
The three-photo test
Practice somewhere you’re allowed to take photos. Keep people and private information out of every shot.
Take these three photos:
- A room view with a window in it
- Two shots of one ordinary feature: a wide one showing where it is and a close-up showing detail
- A readable label or sign with no private information
Then:
- Open each saved file and check that it’s clear.
- Check that the room doesn’t look stretched.
- Send the files to the agreed test location. Don’t upload test photos into a live client file unless the client approves.
- Confirm the format is accepted and any required date shows.
- Ask the person who checks your photos to open the delivered copies too.
A photo that looks good on your screen isn’t proof the delivered file works.
Record your setup
Fill this in after the test and keep it with your field notes.
- Phone and camera app:
- Date tested:
- Client photo rules used:
- File format the phone saves:
- Format the client accepts, and how you convert if needed:
- How the date is recorded, and whether it passed:
- Orientation and lens you tested for room views:
- Where you sent the files, and who checked them:
- Anything to fix before field use:
Your next step: run the three-photo test today and write down any problem to fix before your next assignment.
Questions about a property you’re looking at?
Ask our teamKW Default Solutions team. Educational resource, not legal or financial advice.